Audiobooks are a fantastic way to share your story or knowledge. With the rising popularity of audiobooks, many people prefer listening while they commute, exercise, or do chores. If you’ve poured your heart into writing a book, why not bring it to life in audio format?
Prepare Your Manuscript
Before recording, ensure your manuscript is ready. If your book is published, great! If not, make sure it’s fully edited and proofed. Consistency is essential! Your audiobook must match the print version word for word. Distributors like Amazon ACX may reject files with inconsistencies. Finalize your manuscript before you start recording, whether you narrate it yourself or hire someone.
Choose Your Narrator
Next, decide if you’ll narrate the audiobook yourself or hire a narrator. This choice depends on several factors:
Why Narrate Yourself:
- You add a personal touch that only you can provide.
- Readers often prefer hearing the author’s voice, especially for nonfiction.
- It saves money since you won’t need to hire someone.
Why Hire a Narrator:
- Narrating well can be challenging. If you’re unsure of your skills, consider hiring someone.
- It saves you time. Recording can take about 20 hours, depending on the length.
- You avoid the hassle of learning recording technology.
- Consider your confidence level, tech skills, and available time. Remember, don’t let cost be your only deciding factor.
Set Up Your Home Recording Studio
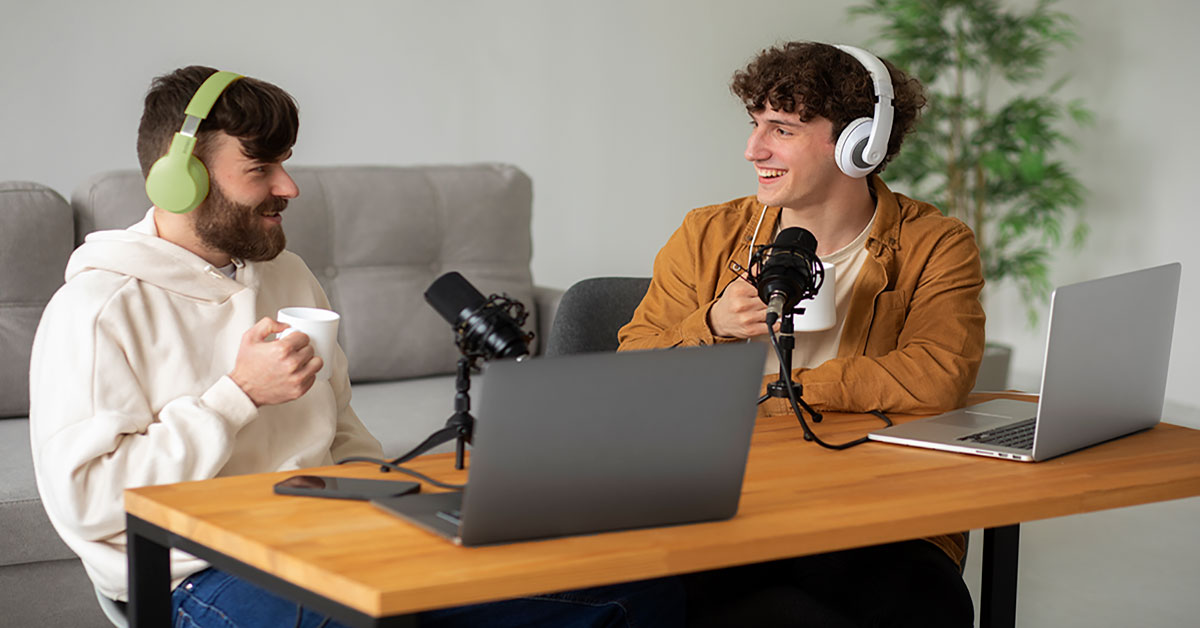
If you’re narrating, create a comfortable home recording studio. A quiet space is vital for good sound quality. Find the quietest spot in your home, away from noise. Some authors even record in their closets! Clothes help absorb sound, making this an easy and affordable option.
Here’s what you’ll need:
- A computer with recording software.
- A good-quality microphone and accessories.
- Soundproofing materials (like moving blankets) if necessary.
- Once your studio is set up, you’re ready to start recording!
Record Your Audiobook
Break your recording into manageable segments. This helps maintain clarity and reduces fatigue. Use user-friendly software like Riverside for both recording and editing. Make sure to focus on delivering clear audio.
Edit Your Audiobook
You have two options for editing your audiobook: self-editing or hiring an audio engineer.
Self-Editing:
If you choose to edit it yourself, use dedicated editing software. Riverside offers a text-based editor that uses AI transcriptions, making audio editing as simple as editing a text. Other good options include Adobe Audition and Logic Pro X. Explore various editing platforms to find what works best for you.
While editing, focus on removing unwanted sounds. Get rid of popping plosives, background noise, coughs, and any mistakes. Aim for a smooth, clear, and well-paced recording. Remember that each distributor has specific requirements. For instance, Audible limits files to 120 minutes and has noise level guidelines.
Hiring an Audio Engineer:
If you prefer a smoother process, consider hiring an audio engineer. They understand the specs for major distributors and ensure your files are polished and ready for publication. To find a skilled audio engineer, ask your narrator for references or check online forums for freelance audio editors.
Create Your Cover Art
Don’t overlook the importance of cover art. You can hire a designer or create your own. Ensure your cover meets the necessary size and format requirements. A great cover will attract more listeners.
Publish Your Audio Files
After recording and editing your audiobook, it’s time to publish. If you choose Amazon ACX, ensure your paperback or ebook is live on Amazon first. You’ll upload your audio files chapter by chapter for approval. The quality check can take up to 30 days, so plan accordingly.
Conclusion
Creating an audiobook is a rewarding journey. With the right story, preparation, and marketing, you can successfully share your voice with the world. Dive into this exciting opportunity and let your story be heard!